Thursday, October 30, 2014

Dolloween series day 13: Halloween pizza!

Hey guys! Today is the last day I will be doing a craft or tutorial, since tomorrow is a Halloween photostory! I hope you like this last little Halloween tutorial!

You will need: two bowls, chalk pastels, a brush or something to use your pastels with, a knife, a spoon, red food dye, water, corn starch, baking soda, and a microwave.
Get your two bowls. Put 1 tsp. of corn starch, 2 tsp. baking soda, and 1 1/2 tsp. water in one bowl, mix it up with a spoon, and dye that red using your red food dye. Try to make it as dark a red as pizza sauce. In the other bowl, put 2 tsp. corn starch, 2 1/2 tsp. water, and 4 tsp. baking soda and mix it up with a spoon.
Microwave it for 15-20 or until it looks like this. Scrape it out of the bowls and kneed it, wetting your fingers with water as you go.
Take about 2/3 of your white dough, roll it into a ball, flatten it out, and shape into a pumpkin shape.
Press down on the middle, making the edges pop up more than the center.
Color the sides with yellow chalk pastel.
Also the bottom.
Go over that with a brown pastel to give it a golden brown crust.
Texture the sides with a ball of tin foil.
Put some of the red dough in as the sauce. Texture it with a toothbrush and dust it with a reddish brown pastel.
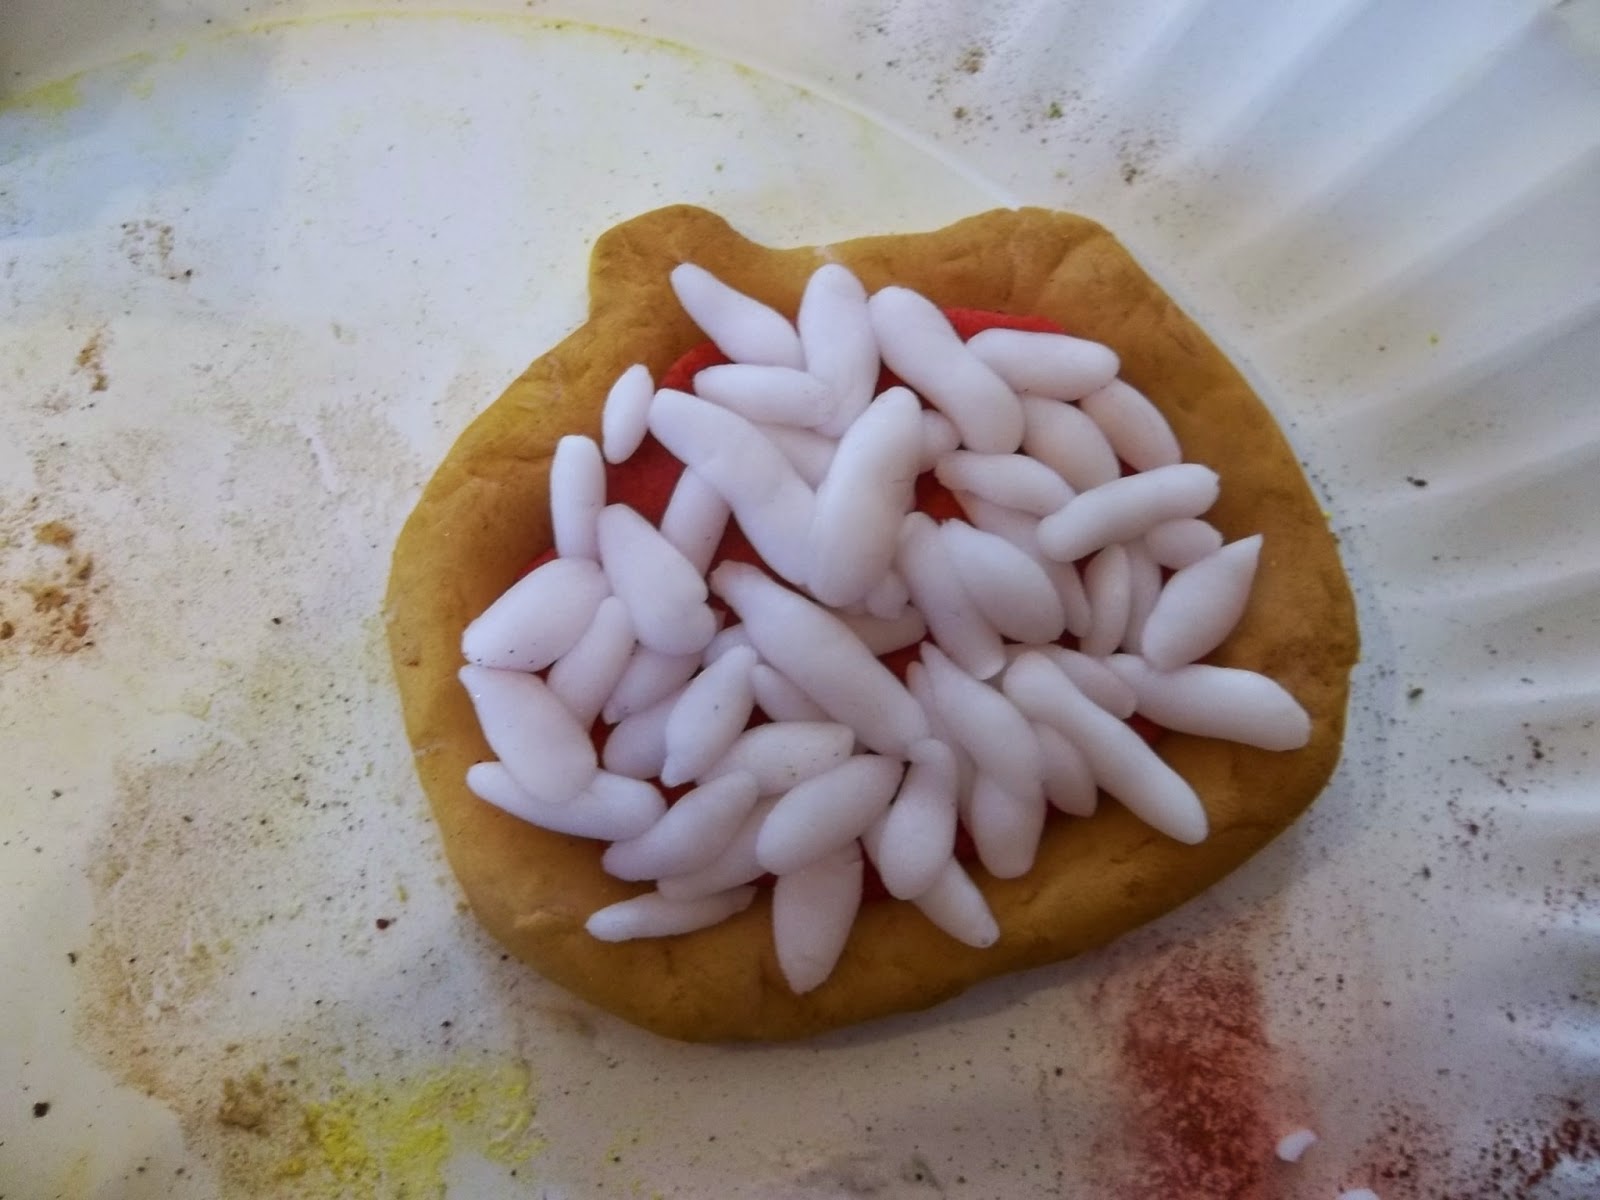
Make cheese shapes from the rest of your white dough and flatten them down.
Add a little yellow pastel on the top of the cheese
Make round red pieces for pepperoni and texture and color them the same way you did with the sauce.
Cut them into fourths.
Put them on your pizza in a jack-o-lantern face shape.
Cut it up however you want.
Bake it at 275 degrees for about 10-15 mins or until hard. Or let it air dry.
Before baking, color the sides with pastels.
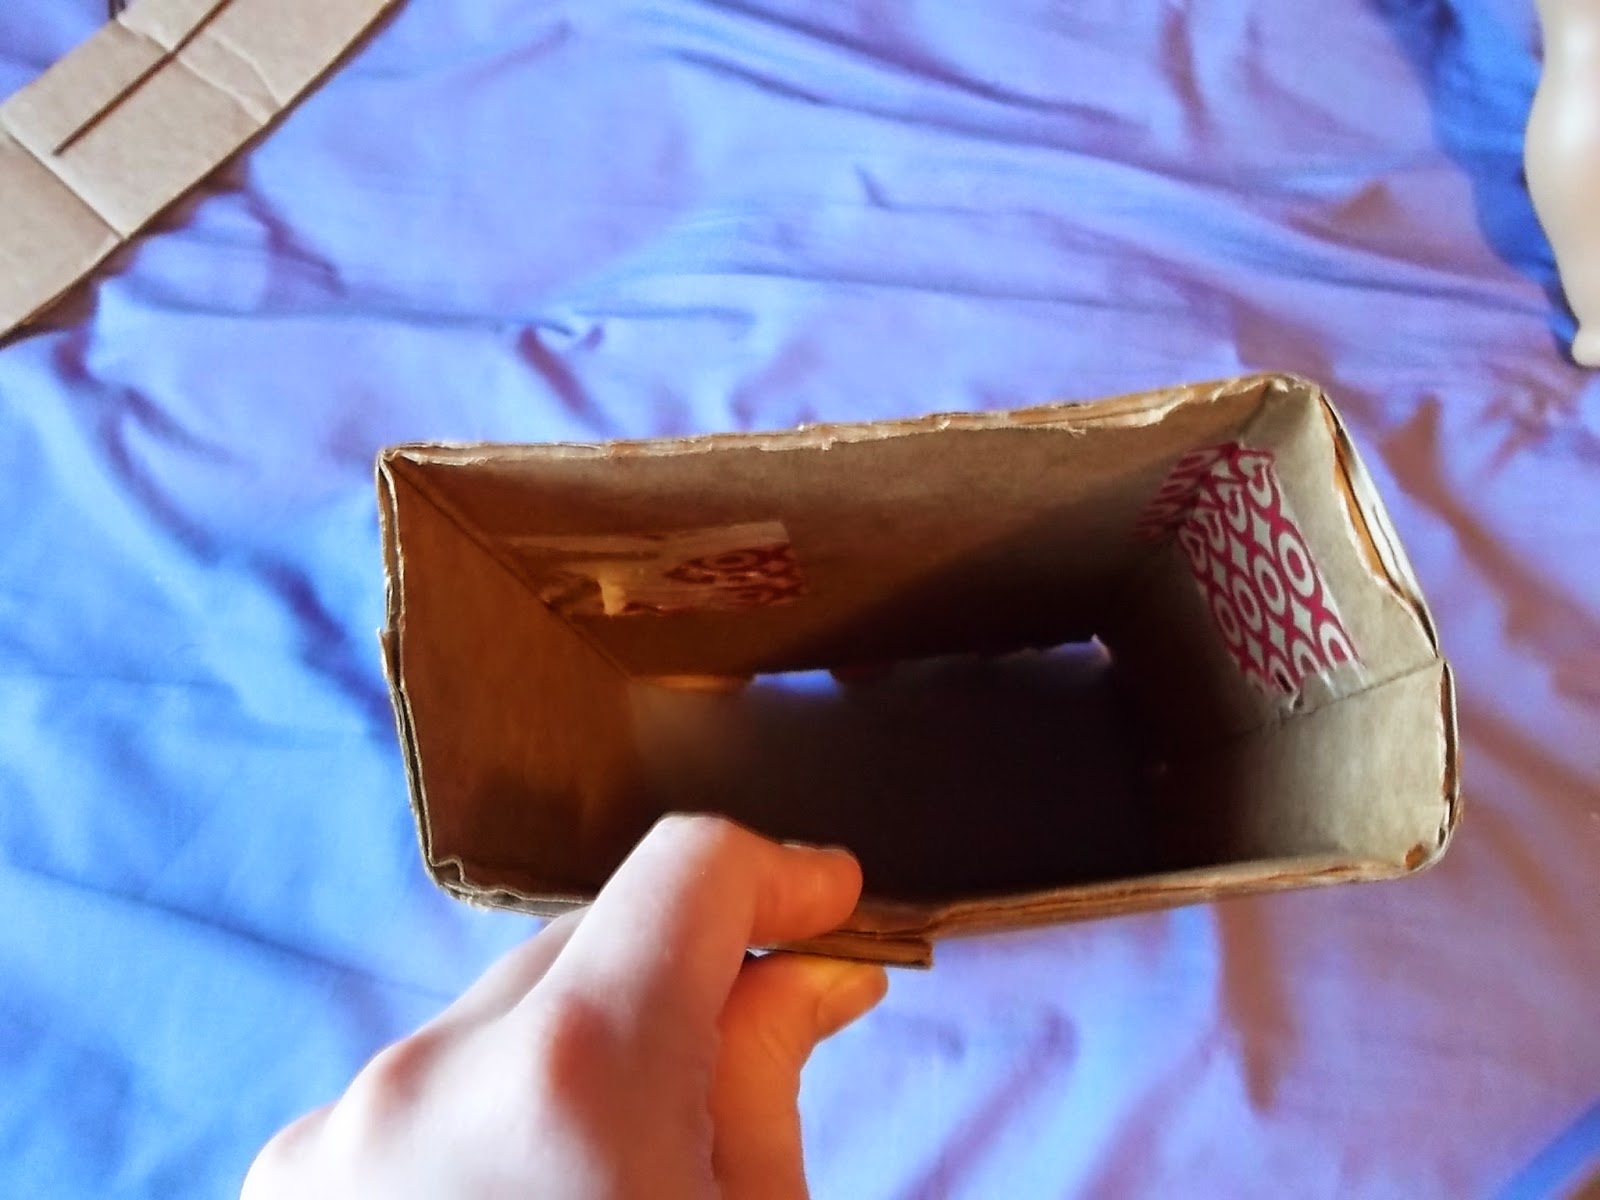
To make a baking sheet, cut a circle out of cardboard big enough for your pizza.
Cover it in aluminum foil.
This is what the bottom will look like.
Put the pizza on the pan and your done!
Thanks for reading! :)

Wednesday, October 29, 2014

Dolloween series day 12: Minecraft "Steve" costume!

Hey there! Today I will be showing you how to make a minecraft "Steve" costume! It is super easy and only took me about 45 minutes! This is a great project for all of you who love Minecraft or can't sew!
   
Here is what it should look like when you're done.
You will need: a cardboard box, a hot glue gun, a glue stick, scissors, black, dark blue, light blue, and light brown construction paper, and dark blue, light blue and brown markers.

Cut a piece of your cardboard box long enough to bend around your doll in a big rectangle. Make sure it goes above your dolls shoulders and to the bottom of her bottom.
This is what it should look like when bent around your doll with your doll taken out.
Draw on two arm holes in the places where your arms will go, and cut them out. Make sure you leave about 1/2 an inch of space above each armhole.
This is how it should now look when tried on your doll.
Cut pieces of cardboard big enough to fit on the top of your costume. Cut a neck hole in the center. Hot Glue the pieces onto the front and sides of your costume.
Do not hot glue the back onto those pieces.
Fold a piece of cardboard as long as your dolls arm ( from the top of her shoulder to the tips of her fingers), and wide enough to bend around your dolls arm in a rectangle shape. Glue it together with a hot glue gun. Cut a big triangle out if one side and put the arm piece on your doll (the first piece should already be on) and shove the arm piece into the body a little. Hot glue a piece of cardboard on the top, covering up whatever skin is still showing.
Hot glue a piece of cardboard onto the bottom of your arm piece. Make two arm pieces.
This is what it should look like with the arms on. Do not glue the arms onto the body.
Make two leg pieces by folding pieces of cardboard into rectangles that fit around your dolls legs. Glue a piece of cardboard onto the bottom of each of the legs. Look at a picture of minecraft "Steve" and cover the costume in construction paper according to how he looks in the picture. Use markers to add details and you're done!
Here is what the finished product should look like! I took some photos of Claire modeling it! I hope you like them! :)


I hope you like this costume tutorial!
Thanks for reading! :)

~Kaitlyn