Hey guys! So today is the kick off of my Dollowene series! Yay! So, to kick this thing off, I'm showing you how to make a really adorable Minnie Mouse costume! I love it and I hope you guys do too! I got this idea straight from a picture of the original Minnie Mouse!
I hope you guys enjoy!
You will need: some material in colors of black, red, and white (or red with white polka-dots), a pair of white doll gloves/mittens, a pair of yellow doll shoes (preferably ballet flats), the free Liberty Jane trendy t-shirt pattern, the doll duds polo shirt pattern (which is free when you sign up for their email list),pins, two smallish white buttons, scissors, sewing machine, Velcro, a normal sized plate, a pipe cleaner, a thin strip of cereal box type cardboard, a hot glue gun, and a piece of mechanical wire long enough to fit around half or more of your dolls head.
I think that's everything!
So, first off, you are going to put your plate on a piece of your red material and trace around it.
Then cut it out.
Fold it in half,
In half again,
And in half again.
Then cut off the tip, making sure not to cut too much off.
Cut off as much as you need until your circle fits around the waist of your doll.
Then cut out your t-shirt pattern pieces onto more of your red material. Make sure you cut the sleeve a little higher at the top than the actual pattern and also make the sides longer, like shown above.
By now, you should have all these pieces cut out.
Cut down the middle of the back of your skirt.
After that, fold up the raw edges to the inside and sew them down, like shown.
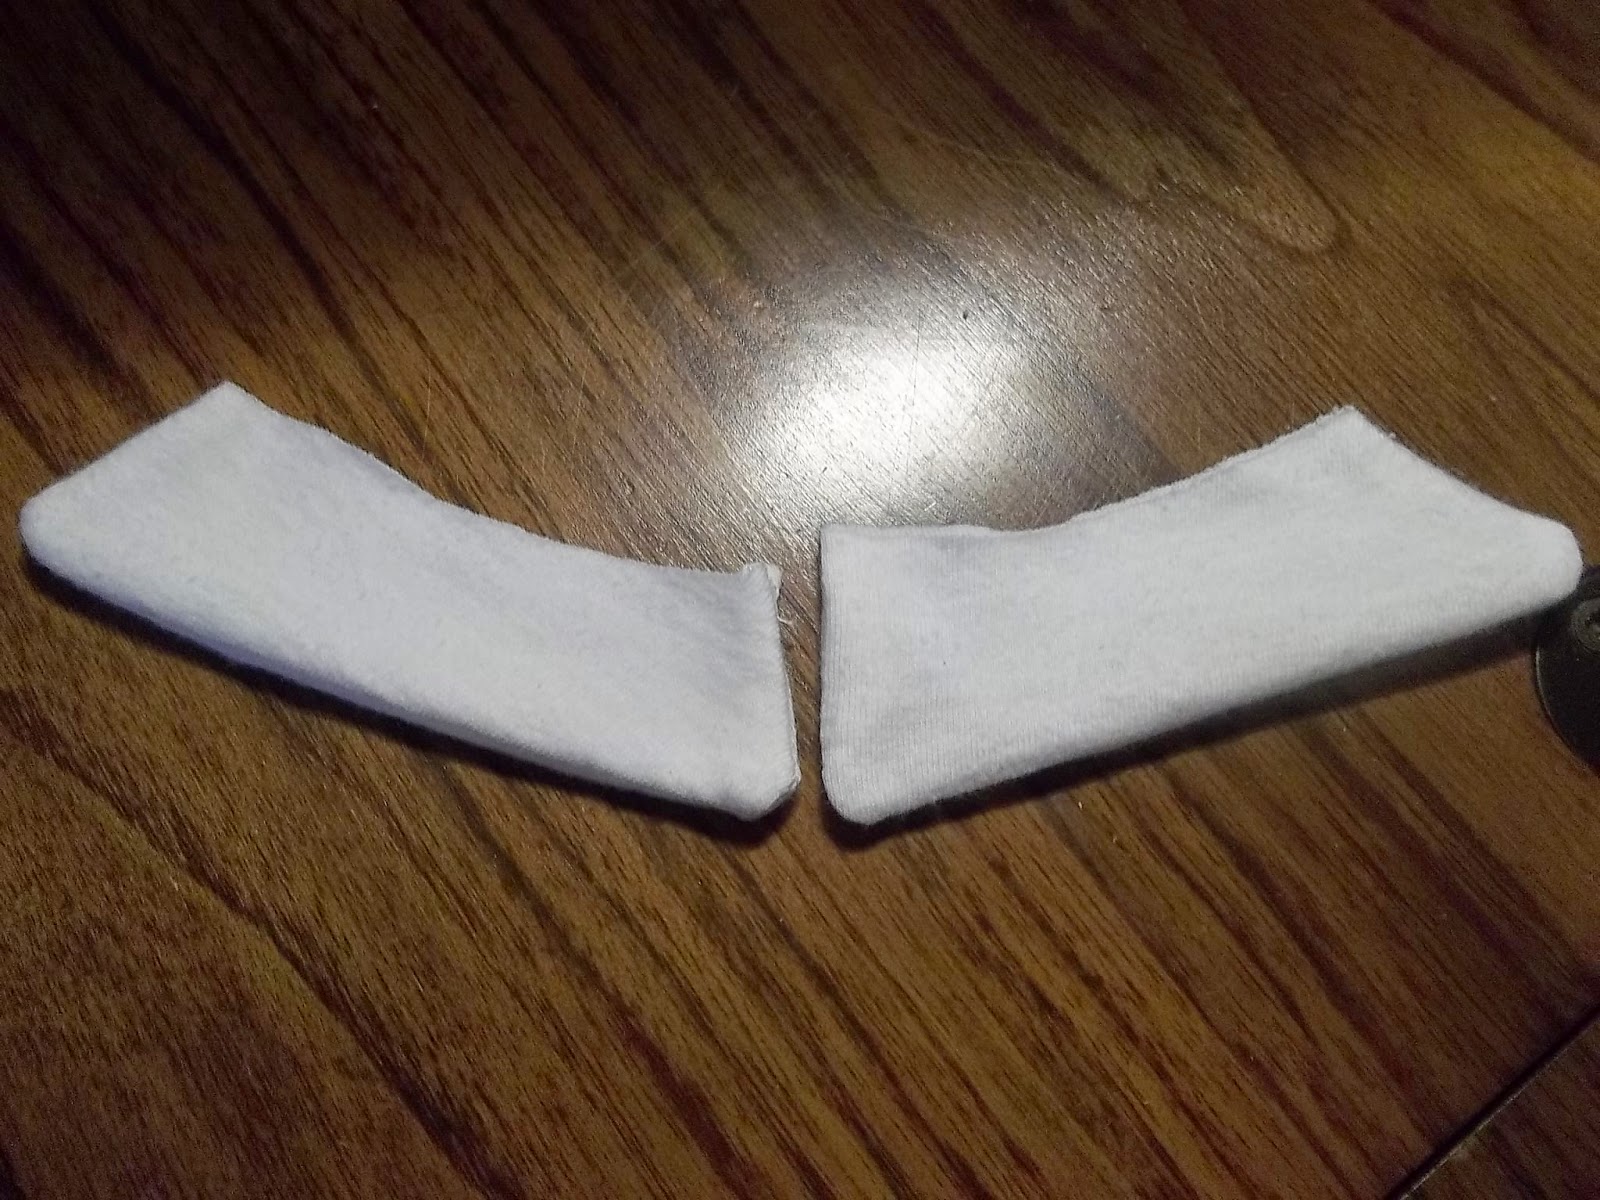
Next, get your polo shirt pattern and pin your collar pieces to some white fabric, making sure to cut two of each piece.
Put the two good sides together, which means the inside is the part that you can see, and sew all around both pieces, except for the top edge, like shown.
Flip it right side out.
Do the first step of you t-shirt according to the pattern. (Which should be to sew your three big pieces together at the shoulder area, like shown).
Also, fold the edges where the Velcro will go in twice and sew them down,
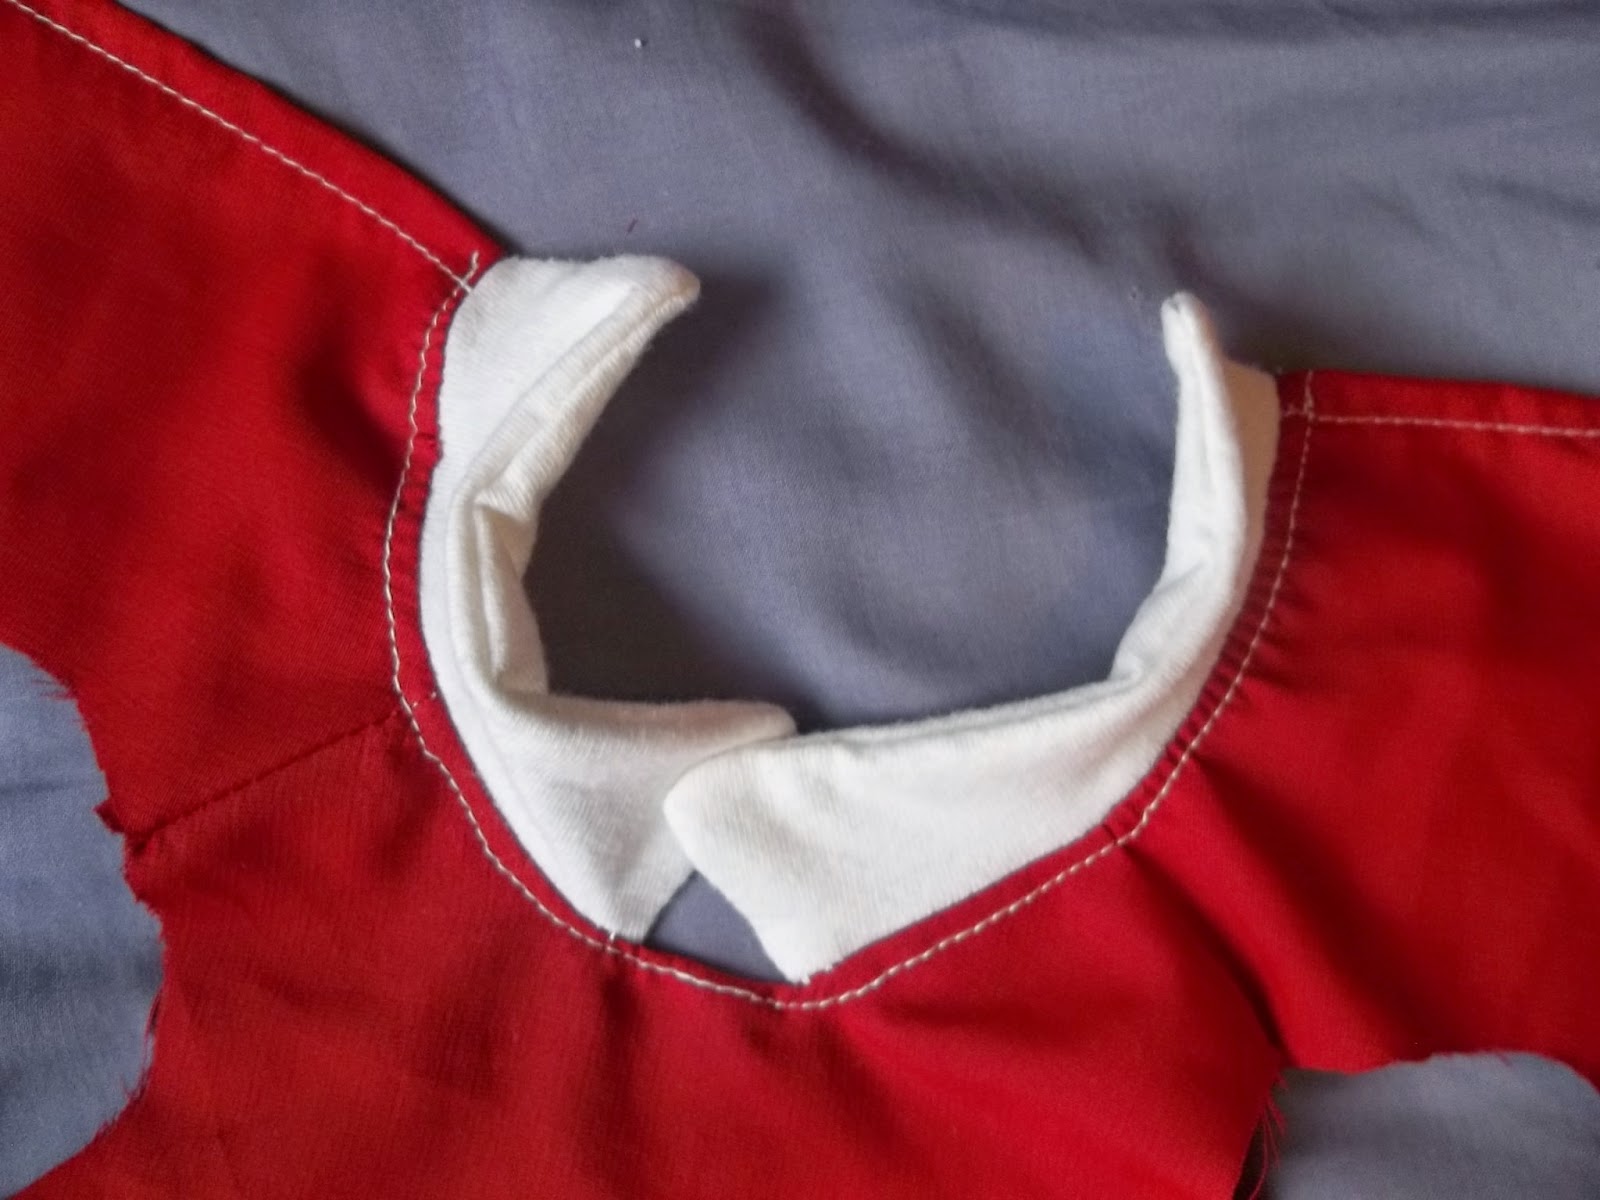
Next, sew your collar pieces on, like shown, stretching them as you go.
Flip your collar up and top stitch around the neck, like shown.
Get your two sleeve pieces, and sew a curved line across part of the top, as shown. (Don't back stitch on this part). Make sure to leave plenty of string hanging off at the end.
Hold one string on one end and push the material down until it is ruffled like this and as long as the pattern for the original sleeves.
Sew those on, and it should look something like this.
Cut two strips of red material about 1in. wide and as long as your sleeve.
Fold it in half and sew it on like shown. The actual strip that you just sewed on should only be about 1/4 in. Trim off excess.
Flip it over and it should look something like this.
Then sew down the sleeves and the sides according to the basic pattern instructions.
Fold up the end, like shown, and sew a straight line across it. Obviously, I kept messing up, and had to correct myself quite a bit.
When you fold it down, it should be straight.
Sew on your circle skirt as shown.
You will probably need to sew in a panel on each side, because the skirt part won't fit around the t-shirt part completely. Sew in your Velcro and sew up the middle of your dress about up to where your Velcro stops.
This is what it should look like by now.
Next, with marker, trace a quarter onto white material a bunch of times.
Then cut then out.
Get your hot glue gun and glue the polka-dots on.
Then, sew/glue your two white buttons on down the top middle of your dress.
For your headband, get your strip of cardboard and your mechanical wire. Form your wire to the shape of your dolls head. Cut the cardboard the same length as the your wire.
Curve the edges of your cardboard strip a little, as shown.
Glue your cardboard to your wire.
This is how it should now look.
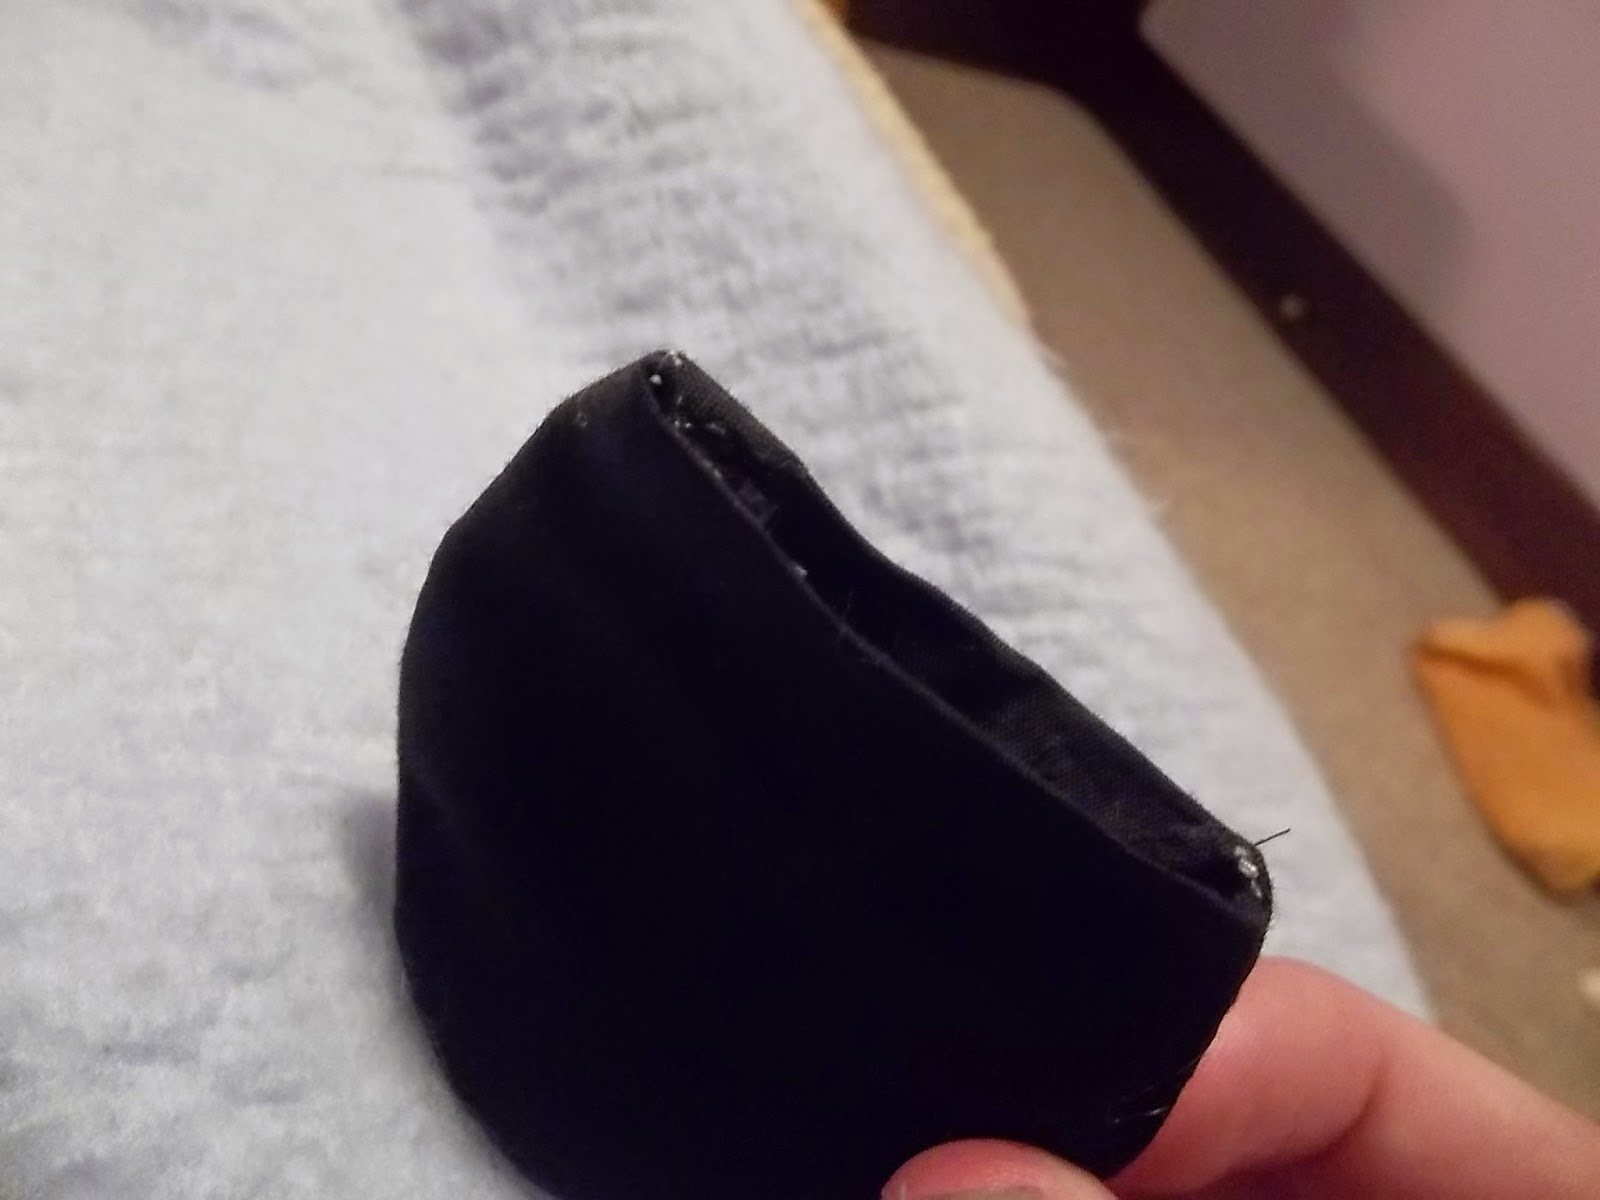
Cut a strip of black fabric about 2 or 3 times as wide as your headband and glue one side onto the headband, like shown.
Fold over your remaining hanging off piece in half and glue it down, as shown.
Then fold that onto the underside of the headband and glue it down. When you have done that, it should look like this.
Get your pipe cleaner and cut it in half. Form them into two mouse-ear shaped pieces.
Fold a piece of black fabric in half, trace around the ear shaped pieces, and cut them out. Making sure to leave a bit of room around the edges. You should now have 4 ear shaped pieces, 2 for each ear.
Put them together, good side to good side, and sew around all the edges, except for the bottom edge.
Flip them right side out and push the pipe cleaners inside.
Fold in the bottom edges and glue them down. Glue the ears onto your headband.
Cut a piece of material twice as wide as you want the bow on your headband to be, and twice as long as you want it to be.
Fold it in half, sew a straight line along the edge, flip it right side out, fold it in half the opposite way, and sew on the edge.
Flip it right side out and put the raw edge in the center. Cut another strip of red material for the middle piece of your bow.
Fold the edges into the middle
Glue it onto the middle of your bow and glue the bow into your headband.
Trace a dime on a piece of white material a few times.
Cut them out and glue them on your bow for polka dots!
And you're finished! I absolutely love how this turned out!
I did a pretty long photoshoot of McKenna in this costume because I couldn't resist taking so many! She just looked sooooo cute! :)
I hope you liked this tutorial!
Thanks for reading! ;)


 So, first off, you are going to put your plate on a piece of your red material and trace around it.
 Then cut it out.


Oh my gosh. This is so freaking adorable. That's it; the goal for next year is to bust out my gram's sewing machine and learn how to use it.
ReplyDeleteSeriously loving this; the outfit is just so cute. So freaking cute. I can't. xD
~Adaline
Awwww! Thanks soooo much Adi! You're sooo sweet!
DeleteWow. You are so talented at sewing and recreating pieces! Your Minnie Mouse costume turned out so perfect! I am inspired to make some nice costumes for my dolls! I also love the pictures at the end! McKenna looks so cute in the costume!
ReplyDelete~ Mint
Awwww! Thanks so much Mint! You are soooo nice! ;)
DeleteVery cute!
ReplyDeleteThis. Is. So. Adorable. Love it! I have to try this. At least try to make the headband ;0)
ReplyDelete- Zoë
Thanks sooo much Zoe!!! :)
DeleteNsvqowbdiqabdjgfjamavdoebwusvajaskslbaoqbfjd frickin amazing. Wow...McKenna looks so cute in it! You did such a great job I don't even know what to say!!!
ReplyDelete~Maddie
Haha! Thanks soooooo much Maddie! ;)
DeleteSo cute! i LOVE IT, but I doubt I could sew it. *Sigh*
ReplyDeleteEmily
Thanks so much! You should try sewing sometime! It's really fun! :D
DeleteMckenna looks so cute in it! She's a great Minnie ;)
ReplyDeleteThanks so much! I know! She's adorable! ;)
DeleteWow! You did a such a good job!
ReplyDeleteThanks so much!!! :)
DeleteThat is really adorable!!! :)
ReplyDeleteOmg this is so stinkin cute great job! ;) i♡it your a very talented person:)
ReplyDeleteAwwwww! Thank you soooooo much Bridget! :D
DeleteThat is SO adorable!!!
ReplyDeleteThanks!!!! :D
Deleteoh wow, this is super adorable!
ReplyDelete~Emma
http://thecreamsicledollies.wordpress.com/
Thanks sooo much! ;)
Delete